
Login to Panopto
Go to the UiO Panopto page and click on Log in to Panopto
https://www.uio.no/english/services/it/video-sound/panopto/
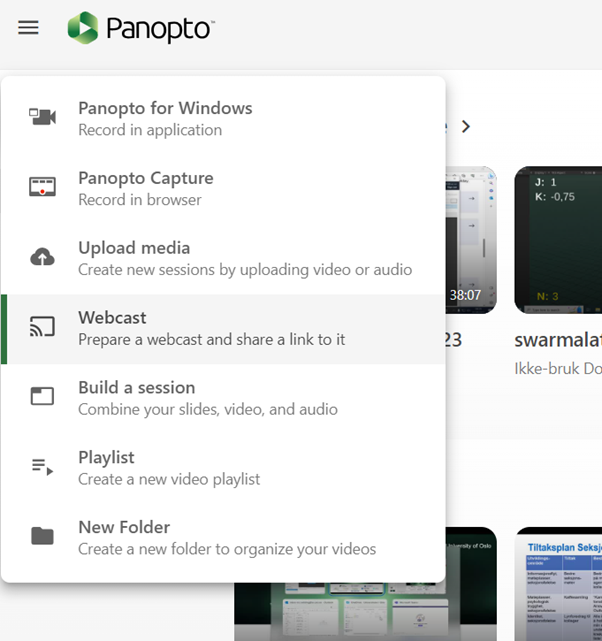
Click the Create button and select Webcast from the drop-down list
Name your webcast
- Give your webcast a name and a description, and check that it is in the folder that you want it to be in (for course lectures follow the webcast guide for course lectures linked above).
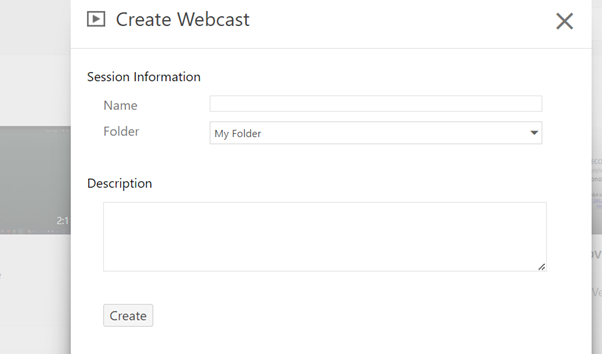
- Click the create button
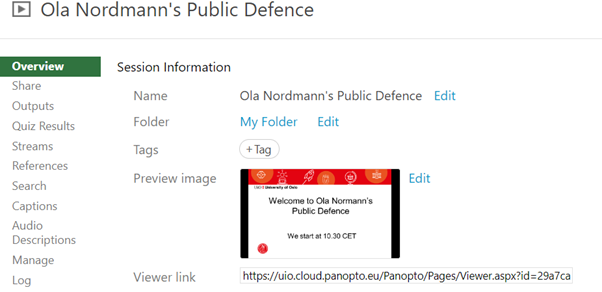
Retrieve the webcast link
- You’ll now see an overview of the webcast you have just created. You can copy and paste the Viewer link into your event web page or into emails or other communication.
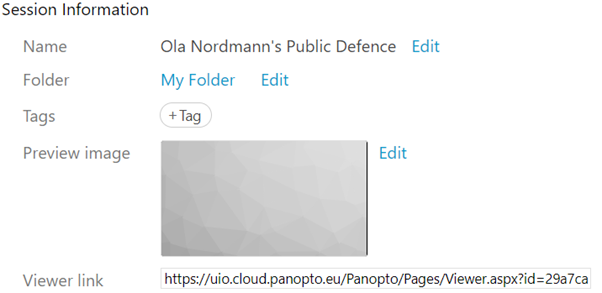
Preview image
You can also upload a Preview image, an image that viewers will see when accessing the webcast before it starts.
Recording the webcast
A webcast is also a standard Panopto recording which can be published after the event. Recordings should be captioned before publishing. Live captioning is not available.
Starting your webcast
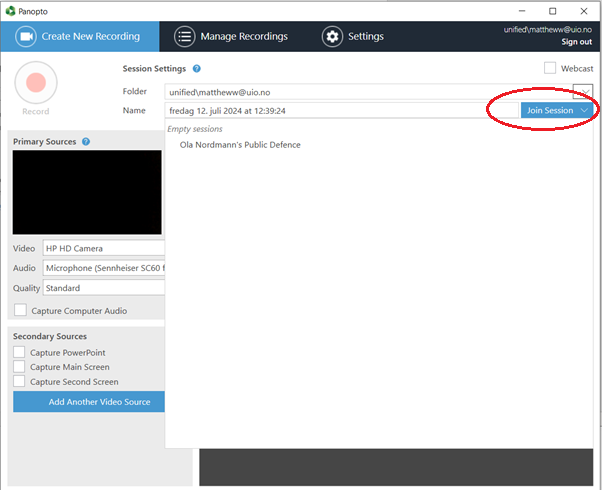
Log in to the PC in the event auditorium in good time before your event starts (I would leave up to 30 minutes to prepare for an important event). Once logged in, open the Panopto program on the computer and log in with the user that created the webcast (or with a user the event has been shared with). On the right hand side of the Panopto window you should see "Join Session" (see figure below). Click on this and select the correct scheduled session.
Ensure that both camera/s, microphone/s and presentations are correctly connected to Panopto (see Panopto recording guide), and then you are ready to click on the record button and start the session.